
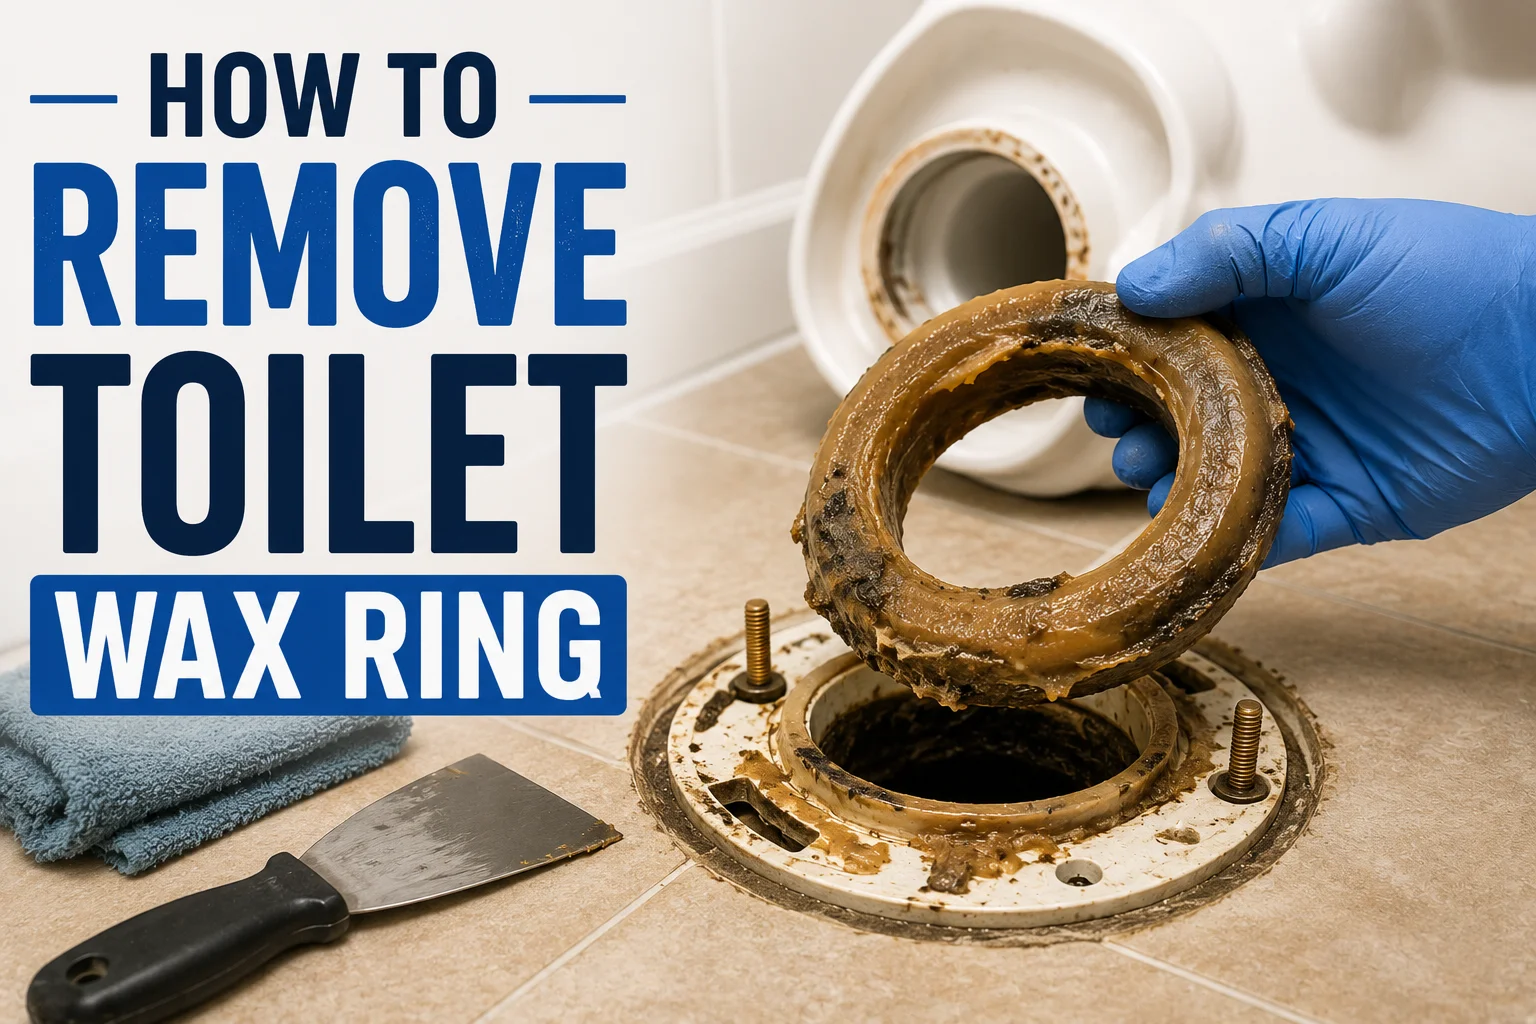
Learning how to remove a toilet wax ring starts with removing the toilet from the flange, lifting away the old seal, and carefully cleaning the leftover wax from the flange and toilet outlet. The job is usually straightforward, but it can get trickier if the toilet is heavy, the mounting bolts are corroded, the toilet feels stuck, the flange is damaged, or the floor around the toilet shows water damage. Taking your time on prep work now helps prevent a leak later, once the new seal is in place.
What Is a Toilet Wax Ring?
A wax ring sits between the toilet’s outlet (the opening at the bottom of the bowl) and the toilet flange (the fitting attached to the drain pipe in the floor). When the toilet is set down and bolted in place, the wax compresses and forms a seal that keeps wastewater inside the pipe and blocks sewer gases from escaping into the bathroom. It’s a simple part, but it does an important job — without a good seal, water and odor can both find their way out around the base of the toilet.
Signs You May Need to Remove and Replace the Wax Ring
Common warning signs include water leaking around the toilet base, a toilet that rocks or feels unstable, sewer odor near the toilet, visible moisture on the floor, or simply the fact that the toilet was recently removed or is being reinstalled. Any time the old seal has been disturbed, it should be replaced rather than reused.
That said, water around the base doesn’t always mean the wax ring is the culprit. A leaking supply line, a leaking tank-to-bowl gasket, a cracked bowl, condensation (“sweating”) on the tank, or a damaged flange can all cause similar symptoms. It’s worth confirming the wax ring is actually the source before you commit to pulling the toilet.
Can You Remove a Toilet Wax Ring Without Removing the Toilet?
Generally, no. The old wax ring is compressed between the toilet outlet and the flange, so there isn’t a way to access and remove it properly without lifting the toilet off first. Trying to scrape wax from around the base while the toilet is still in place will usually leave old wax behind and prevent the new seal from sitting flat, which is a common cause of leaks after a “quick fix.”
Tools and Materials You May Need
- Adjustable wrench
- Screwdriver
- Pliers
- Utility knife or plastic scraper
- Putty knife
- Bucket
- Sponge and towels
- Disposable gloves
- Plastic sheet or cardboard
- Trash bag
- Replacement wax ring or approved toilet seal
- Replacement toilet bolts, if needed
- Penetrating oil, in case the mounting bolts are corroded
A plastic scraper is worth calling out specifically — a metal scraper or screwdriver can scratch porcelain, so stick with plastic tools wherever the scraper will contact the toilet itself.
Before Removing the Toilet
Step 1: Shut off the water. Turn the supply valve behind or beside the toilet clockwise until it stops. If the valve is stuck or won’t turn, don’t force it — a stripped or broken valve can turn a simple repair into a bigger one. Shut off water at the main if needed and consider having a plumber replace a stuck valve.
Step 2: Flush the toilet. This empties most of the water from the tank and bowl.
Step 3: Remove remaining water. Use a sponge, cup, towels, or a wet/dry vacuum to soak up whatever’s left in the tank and bowl. The less water left inside, the easier and cleaner the toilet will be to lift.
Step 4: Disconnect the water supply line. Place a bucket underneath the connection first — some water usually remains in the line even after flushing.
Step 5: Remove the decorative bolt caps. These small plastic or ceramic caps cover the mounting nuts at the base of the toilet; pop them off to access the hardware underneath.
Step-by-Step: How to Remove a Toilet Wax Ring
Step 1: Remove the Toilet Mounting Nuts
Locate the nuts on the bolts at the base of the toilet. Hold the bolt steady with pliers if it spins, and turn the nut counterclockwise with a wrench. If a nut is badly corroded, penetrating oil and patience work better than force — and if a bolt won’t budge, it may need to be cut rather than wrenched on aggressively, which risks cracking the porcelain around the base.
Step 2: Break the Toilet’s Seal
The old wax may still be lightly holding the toilet in place. Gently rock the bowl side to side to break that seal. Avoid prying against the floor or the toilet with a tool, since that can crack porcelain or damage flooring.
Step 3: Lift the Toilet
Toilets are heavier than they look — a two-piece toilet’s bowl alone can be a real strain to lift solo. Get a second person to help if you’re not confident lifting it by yourself. Lift straight up as much as you can, rather than tilting or dragging, to avoid banging the flange or scraping the floor.
Step 4: Place the Toilet Safely
Set the toilet down on cardboard, towels, or a plastic sheet — not directly on tile or hardwood, which can chip the porcelain. If you’re comfortable removing one bathroom fixture, you may find the general handling tips in our guide to types of shower drains and how to remove them useful for other drain fixtures in the same room.
Step 5: Remove the Old Wax Ring
Use a plastic scraper or putty knife to lift the old wax off the toilet outlet, the flange, and the surrounding area. Put the used wax straight into a trash bag — never flush old wax down the toilet or a drain, since it can clog pipes.
How to Remove Stubborn Wax From the Toilet Flange
Wax often clings stubbornly to the flange even after the bulk of it is scraped away. Work it loose with a plastic scraper, putty knife, and disposable towels or rags, taking care not to gouge a PVC flange or scratch a cast-iron or metal one. A few faint traces of wax are normal and won’t cause problems, but the surface needs to be clean and flat enough for a new seal to sit evenly — an uneven layer of old wax under a new ring is a common cause of a seal that never quite closes right.
How to Clean the Bottom of the Toilet
Wax also sticks to the underside of the toilet around the outlet. Scrape it gently with a plastic tool and wipe with disposable towels, being careful not to force the scraper hard enough to chip glazed porcelain. While you’re down there, inspect the area around the outlet for cracks or chips. A damaged toilet outlet isn’t something a new wax ring can fix — a cracked base near the outlet is generally a sign the toilet itself needs to be replaced.
Inspect the Toilet Flange Before Installing a New Wax Ring
This step gets skipped more than any other, and it’s the one most likely to cause a repeat leak. Check the flange for:
- Cracks in the plastic or metal ring
- Broken or elongated bolt slots
- Corrosion, especially on older metal flanges
- Any looseness or movement when you wiggle it
- Signs of water damage in the subfloor around it
- A flange sitting noticeably too low or too high relative to the finished floor
Replacing the wax ring won’t fix a damaged or unstable flange — a wax ring can only seal properly if the flange it’s sealing against is solid and correctly positioned. Flange height requirements can vary by installation and local code, so if you’re unsure whether your flange sits at the right height, that’s worth confirming with a plumber rather than guessing.
What If the Toilet Flange Is Damaged?
Flange problems range from minor to serious:
Broken mounting ring — the slots the toilet bolts pass through are cracked or broken, so the toilet can’t be securely bolted down.
Cracked flange — the seal is unlikely to hold reliably even with a new wax ring.
Loose flange — the toilet rocks because the flange itself isn’t secured to the floor or drain pipe.
Corroded flange — old metal flanges can rust to the point that mounting hardware no longer holds.
The right fix depends on the flange material, the drain pipe material, the flooring, how accessible the area is, and how severe the damage is — there’s no single universal repair. If you’re unsure what pipe material or fitting your flange connects to underneath, our comparison of SDR 35 vs. Schedule 40 drain pipe can help you identify what you’re working with. Some situations can be addressed with a repair ring or flange extender kit; others require replacing the flange entirely. For anything beyond minor wear, it’s worth bringing in a qualified plumber rather than guessing at a fix that has to hold a watertight seal.
Should You Reuse an Old Toilet Wax Ring?
No. Once a wax ring has been compressed by the weight of the toilet and then disturbed by removal, it’s already lost the shape it needs to seal properly — pressing it back into service on a reinstall is a common way to end up with a slow leak weeks later. Use a fresh wax ring or a manufacturer-approved replacement seal every time the toilet comes off.
Wax Ring vs. Wax-Free Toilet Seal
| Feature | Wax Ring | Wax-Free Seal |
|---|---|---|
| Material | Wax | Rubber/foam or other elastomer |
| Traditional use | Very common | Growing alternative |
| Reusable | Generally no, after compression/removal | Depends on the product — some are designed to be repositioned or reused |
| Installation | Simple but must be positioned correctly the first time | Product-specific; some allow repositioning if the first attempt is off |
| Compatibility | Depends on toilet and flange height | Depends on toilet and flange height |
Neither option is universally “better” — it depends on your flange height, budget, and preference for a mess-free installation. Oatey’s comparison of wax and non-wax toilet seals walks through the trade-offs in more detail, and manufacturers like Fluidmaster and Korky publish specific installation instructions for their wax-free products. Always follow the seal manufacturer’s instructions, since these vary by product and by whether the seal is designed to be repositioned or reused.
Common Mistakes When Removing a Toilet Wax Ring
- Trying to scrape out wax without removing the toilet
- Leaving old wax behind on the flange or toilet outlet
- Reusing the old, compressed wax ring
- Dropping or dragging the toilet during removal
- Cracking porcelain by prying too aggressively
- Damaging the flange while scraping
- Skipping the flange inspection
- Ignoring soft or damaged flooring around the toilet
- Not replacing corroded or damaged mounting bolts
- Installing a new seal without checking flange condition first
- Flushing old wax down the drain
Each of these mistakes tends to show up later as a leak, an odor, or a wobbly toilet — problems that are much easier to prevent during removal than to fix after the toilet is reinstalled.
What to Do After Removing the Old Wax Ring
- Clean the flange thoroughly.
- Inspect the flange for cracks, corrosion, or looseness.
- Inspect the toilet outlet for cracks or chips.
- Check the surrounding floor for soft spots or water damage.
- Confirm the mounting bolts are still usable, or replace them.
- Confirm you have the correct replacement seal for your flange height and toilet.
- Follow the seal manufacturer’s specific installation instructions.
- Prepare to reinstall and level the toilet.
This article focuses on removal and prep — once the flange and toilet are confirmed to be in good shape, installing the new seal and resetting the toilet is a separate step best covered by the seal manufacturer’s instructions for your specific product.
When Should You Call a Plumber?
Call a professional if the flange is broken or badly corroded, the toilet rocks significantly even after a new seal, the floor feels soft or shows water damage, the toilet can’t be safely removed, the porcelain is cracked, the drain connection itself looks damaged, sewer odor persists after the repair, water keeps leaking after installing a new seal, or the toilet is simply too heavy or awkward to handle safely on your own.
Frequently Asked Questions
1. How do you remove a toilet wax ring?
Shut off the water, empty the tank and bowl, disconnect the supply line, remove the mounting nuts, gently rock and lift the toilet free, then scrape the old wax off the toilet outlet and flange with a plastic scraper before disposing of it in a trash bag.
2. Do I have to remove the toilet to replace the wax ring?
Yes, in almost every case. The wax ring is compressed between the toilet and the flange, so there’s no way to properly access and remove it without lifting the toilet off first.
3. How do I remove old wax from a toilet flange?
Use a plastic scraper or putty knife to lift the compressed wax off the flange, working carefully to avoid cracking a PVC flange or scratching a metal one. Wipe the area with disposable towels until it’s clean and flat.
4. Can I reuse a toilet wax ring?
No. Once a wax ring has been compressed and disturbed by removal, it won’t reliably reseal. Always install a fresh wax ring or manufacturer-approved replacement seal.
5. How do I remove stubborn toilet wax?
Work it loose gradually with a plastic scraper and disposable rags rather than forcing it with a metal tool. Light residue is normal, but the surface should be clean and even before installing a new seal.
6. What if the toilet wax ring is stuck?
Some wax sticking to both the toilet and the flange is normal. Gently rock the toilet to break the seal before lifting, and scrape residue off both surfaces afterward rather than trying to pry the toilet free forcefully.
7. How do I know if my toilet flange is damaged?
Look for cracks, broken or elongated bolt slots, corrosion, movement when you wiggle the flange, or signs of water damage in the subfloor. A flange sitting too high or low relative to the floor is also worth flagging.
8. What should I use to clean old toilet wax?
A plastic scraper or putty knife, along with disposable towels or rags. Avoid metal tools directly against porcelain, since they can scratch or chip the finish.
9. Can a bad wax ring cause water around the toilet?
Yes, a failed or improperly seated wax ring is a common cause of water pooling around the base. But supply line leaks, tank leaks, condensation, and a damaged flange can cause similar symptoms, so it’s worth confirming the source before assuming it’s the wax ring.
10. Should I use a wax ring or wax-free toilet seal?
Either can work well. Wax rings are inexpensive and reliable when the flange height is standard; wax-free seals cost more but some allow repositioning and are less affected by temperature. Follow the manufacturer’s instructions for whichever you choose.
Conclusion
Removing a toilet wax ring safely comes down to a clear sequence: shut off the water, empty the toilet, disconnect the supply line, remove the mounting hardware, carefully lift the toilet, remove the old wax, and clean the flange and toilet outlet thoroughly. From there, inspect the flange and surrounding floor for damage before you go any further. Never reuse a compressed wax ring — install a new one or a manufacturer-approved replacement seal instead. The most important part of this job isn’t just removing the old wax; it’s confirming the flange and toilet are both in good condition before that new seal ever goes in.