
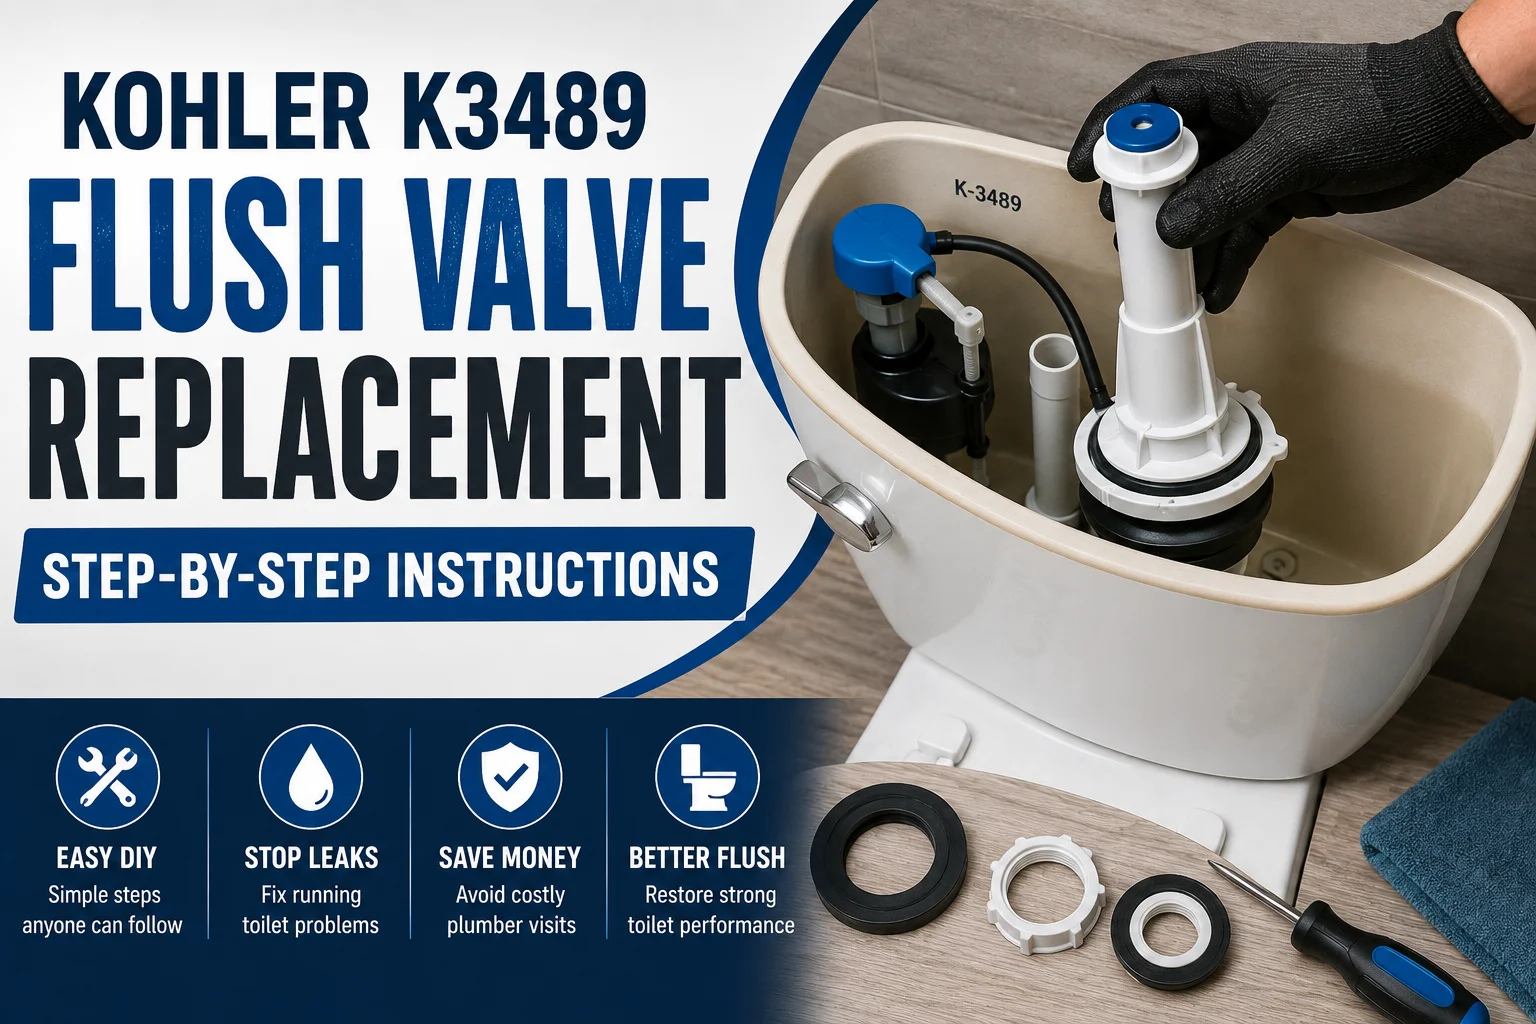
Replacing the flush valve on a Kohler K-3489 is a manageable repair once you’ve confirmed the correct replacement part and your toilet’s specific configuration. The K-3489 is a Kohler Cimarron one-piece, comfort-height toilet, and per Kohler’s own service parts documentation, it uses a flapper-style flush valve system rather than a canister-style valve — a distinction that matters, since Kohler makes both types depending on the model.
The general process involves shutting off the water, emptying the tank, accessing the flush valve, removing the old component, installing the replacement gasket and valve, reassembling, and testing for leaks. Whether you need to remove the tank entirely depends on your specific replacement part and how the toilet was installed — don’t assume either way until you’ve looked at what you’re working with.
What Is the Flush Valve on a Kohler K-3489?
The flush valve is the component that releases water from the tank into the bowl when you flush. It works together with the overflow tube and a sealing mechanism — on the K-3489, that’s a flapper — which is what keeps water from continuously draining into the bowl between flushes.
A failing flush valve or its sealing component can cause a toilet that runs continuously, a weak or incomplete flush, water leaking from the tank down into the bowl, or a general tank-to-bowl leak in that area. Not every one of these symptoms means the entire flush valve assembly needs replacing — sometimes just the flapper or seal is the actual culprit, which is worth ruling out before ordering a full valve kit.
Signs Your Kohler K3489 Flush Valve Needs Replacement
Watch for these common symptoms:
- The toilet runs continuously or intermittently
- Water slowly leaks from the tank into the bowl, even when the toilet isn’t in use
- The flapper or seal doesn’t close fully after flushing
- The flush valve or flapper looks cracked, warped, or visibly worn
- There’s a leak at the tank-to-bowl connection near the valve
- The flush handle or lever doesn’t reliably trigger a full flush
- Mineral buildup around the valve seat prevents a proper seal
- Flush valve components look worn, brittle, or damaged
If the valve body itself looks intact and the flapper is the only thing that’s cracked or worn, replacing just the flapper may solve the problem without a full valve replacement.
Before You Start the Replacement
- Confirm your exact toilet model — look for “K-3489” stamped on the underside of the tank lid or inside the tank
- Verify the correct replacement flush valve or flapper for your specific toilet before ordering anything
- Read any instructions included with your replacement part
- Shut off the water supply to the toilet
- Flush the toilet to drain as much water as possible
- Remove any remaining standing water from the tank
- Have towels or a sponge on hand
- Gather the tools you’ll likely need
- Lay down towels or a drop cloth to protect the bathroom floor
Confirming your exact model matters because Kohler makes multiple flush valve styles across its toilet lineup, and using the wrong replacement part is one of the most common reasons a repair doesn’t hold.
Tools and Materials You May Need
- Adjustable wrench
- Pliers
- A screwdriver, if your specific hardware requires one
- Sponge and bucket
- Towels
- The correct replacement flush valve or flapper for the K-3489
- A replacement gasket, if not included with your valve kit
- Any additional hardware specified for your replacement part
Not every one of these will necessarily be needed — the exact tools depend on your toilet’s configuration and the specific replacement part you’re installing.
Step 1 — Shut Off the Water Supply
Locate the shutoff valve, typically on the wall or floor behind the toilet, and turn it clockwise until the water stops flowing. Avoid forcing an old or stiff valve — excessive force on a worn shutoff can cause it to start leaking or break entirely. If the valve won’t turn or feels seized, it may need attention before you can safely proceed with the rest of the repair.
Step 2 — Empty the Toilet Tank
Flush the toilet, holding the handle down if needed to release as much water as possible. Use a sponge or towel to soak up any water remaining in the tank, and keep a bucket nearby for any water that spills during disassembly. Getting the tank as dry as possible before removing components makes the rest of the job cleaner and easier.
Step 3 — Disconnect the Water Supply
Depending on your repair, you may need to disconnect the water supply line from the bottom of the tank. Place a bucket underneath the connection first, since some residual water is likely to remain in the line even after the shutoff valve is closed. Only disconnect the line once you’ve confirmed the water supply is fully shut off — never work on a pressurized connection.
Step 4 — Determine Whether the Tank Needs to Be Removed
Don’t assume the tank has to come off. Whether tank removal is necessary depends on your specific flush valve replacement part and how it mounts. If the new valve or its hardware needs to be secured from underneath the tank, removing the tank may be required to get proper access. If your replacement kit’s instructions describe a procedure that doesn’t require full tank removal, follow that guidance instead.
If tank removal does turn out to be necessary, handle it carefully — porcelain tanks can crack from a hard bump or excess torque on connecting bolts.
Step 5 — Remove the Existing Flush Valve
Follow the instructions provided with your specific replacement part, since exact steps vary by product. In general, this involves:
- Removing the tank lid
- Disconnecting the flush handle mechanism or flapper chain as needed
- Accessing the flush valve’s mounting hardware
- Removing the retaining nut or hardware, often from underneath the tank
- Removing the old gasket
- Lifting out the old flush valve
If the retaining nut is corroded or stuck, don’t force it. A penetrating lubricant, the right size wrench, or letting it sit for a few minutes can help — but if it still won’t budge, that’s a sign to stop and consider professional help rather than risk cracking the porcelain.
Step 6 — Clean and Inspect the Tank Opening
The sealing surface around the flush valve opening needs to be clean for the new gasket to seat properly. Remove any mineral deposits, old gasket material, dirt, or residue from the area. While you’re there, inspect the opening for cracks, chips, or an uneven sealing surface.
If you find cracked porcelain around the valve opening, replacing the flush valve alone likely won’t solve the underlying leak — a cracked tank may need to be replaced rather than repaired.
Step 7 — Install the New Kohler Flush Valve
- Double-check that the replacement valve is the correct part for your K-3489.
- Install the new gasket in the correct position, per the manufacturer’s instructions.
- Insert the valve through the tank opening.
- Align it correctly with the tank and overflow tube.
- Install the retaining hardware.
- Tighten according to the manufacturer’s instructions — snug enough to seal, without overtightening.
Overtightening the retaining nut can crack the porcelain tank or distort the new gasket, which can actually cause the leak you were trying to fix. If the connection feels secure and shows no gaps, that’s typically enough — resist the urge to keep cranking it down further.
Step 8 — Reconnect the Flush Mechanism
Reconnect the flush handle mechanism, whether that’s a chain-and-flapper setup or another style specific to your toilet’s configuration — don’t assume your K-3489 uses the exact same mechanism as a different Kohler model without checking. The flapper or valve seal should move freely when the handle is activated and return fully to its sealing position afterward.
Step 9 — Reinstall the Tank if It Was Removed
If you removed the tank, reposition it onto the bowl, install the tank-to-bowl bolts and gasket per the manufacturer’s instructions, and tighten evenly — alternating sides gradually rather than fully tightening one side first. Avoid overtightening, since porcelain can crack under excessive force. Reconnect the water supply once the tank is secure.
Step 10 — Turn the Water Back On
Slowly reopen the shutoff valve rather than all at once. As the tank fills, check the flush valve area, the supply connection, the tank-to-bowl connection, and the underside of the tank for leaks. Don’t consider the repair finished until you’ve confirmed everything is dry.
How to Test the New Flush Valve
Test 1: Tank fill. Confirm the tank fills to the normal water level without issues.
Test 2: Flush. Flush the toilet and watch that the valve opens fully and closes completely afterward.
Test 3: Refill. Make sure the tank stops filling once it reaches the proper level — it shouldn’t keep running.
Test 4: Leak inspection. Check around the base of the tank, the supply connection, and the floor for any moisture.
Test 5: Bowl water. Confirm water isn’t slowly trickling into the bowl between flushes.
Running through a few flush cycles, waiting a few minutes between each, is a good way to confirm the repair is holding before you consider the job done.
Common Problems After Replacing a Kohler Flush Valve
Toilet still runs. This can point to a seal or flapper that isn’t seated correctly, the wrong replacement part, a flush mechanism that needs adjustment, debris caught in the valve, a damaged sealing surface, or — importantly — a fill valve problem rather than a flush valve problem.
Water leaks from the bottom of the tank. Possible causes include a damaged or misaligned gasket, loose retaining hardware, cracked porcelain, or a defective replacement valve.
Weak flush. This can result from incorrect valve installation, a flush mechanism issue, an incorrect tank water level, a partial blockage, or using the wrong replacement component for your model.
Tank fills but doesn’t stop. This symptom usually points to the fill valve, not the flush valve — these are two different components with two different jobs, and it’s a common point of confusion during troubleshooting.
Flush Valve vs Fill Valve on a Kohler Toilet
| Component | Main Function | Common Symptoms |
|---|---|---|
| Flush valve | Releases tank water into bowl | Running toilet, water leaking into the bowl |
| Fill valve | Refills the tank after a flush | Tank won’t stop filling, slow refill |
| Flush handle/mechanism | Activates the flush | Handle feels loose or doesn’t trigger a flush |
| Tank-to-bowl gasket | Seals the tank-to-bowl connection | Water leaking between the tank and bowl |
Replacing the wrong component won’t fix the actual problem — if you’re not sure which part is failing, take a few minutes to observe the toilet during a flush cycle before ordering parts.
Should You Replace the Entire Flush Valve or Just the Seal?
The right repair depends on the condition of your existing valve. A seal or flapper-only replacement is often enough when the valve body itself is intact, the flapper or seal is simply worn, and there’s no cracking or structural damage.
A complete flush valve replacement makes more sense when the valve body is cracked, mounting hardware is damaged, the valve no longer seats correctly even with a new flapper, or mineral buildup and wear are severe enough that a simple part swap won’t solve it. Not every leaking Kohler toilet needs a full flush valve replacement — check the simpler fix first.
Common Mistakes to Avoid
- Ordering a replacement part without confirming it’s correct for the K-3489
- Assuming all Kohler toilets use the same valve
- Forgetting to shut off the water before starting
- Leaving water in the tank during disassembly
- Reusing an old, damaged gasket instead of a new one
- Overtightening the retaining nut
- Cracking the porcelain through excess force
- Installing the gasket upside down or misaligned
- Skipping inspection of the tank opening for cracks
- Not testing thoroughly for leaks before finishing
- Replacing the flush valve when the fill valve was actually the problem
Can You Replace a Kohler K3489 Flush Valve Yourself?
A homeowner with basic plumbing skills and the correct replacement part can often handle this repair. That said, professional help may be the better call if the tank is difficult to remove, hardware is severely corroded, the porcelain is cracked, the shutoff valve is stuck or failing, the flange or supply line is damaged, you can’t confidently identify the correct replacement part, or you’re simply not comfortable removing the tank yourself.
When to Call a Plumber
Consider professional help for a cracked toilet tank, damage around the flush valve opening, severe hardware corrosion, tank bolts or nuts that won’t budge, a failing water shutoff valve, a persistent leak even after replacement, uncertainty about the correct replacement part, multiple toilet components failing at once, or any sign of hidden plumbing damage beyond the flush valve itself.
Frequently Asked Questions
How do I replace the flush valve on a Kohler K3489?
Shut off the water, drain the tank, access the flush valve according to your replacement part’s instructions, remove the old valve and gasket, clean the sealing surface, install the new gasket and valve, reconnect the flush mechanism, and test thoroughly for leaks before considering the job complete.
What flush valve does a Kohler K3489 use?
The K-3489 is a Kohler Cimarron one-piece toilet that, per Kohler’s service parts documentation, uses a flapper-style flush valve system. Always confirm the exact compatible part using Kohler’s official parts lookup or your toilet’s documentation before purchasing.
Do I need to remove the tank to replace the flush valve?
Not necessarily. It depends on your specific replacement part and how it mounts. Some flush valve kits allow access without full tank removal, while others require it. Follow the instructions provided with your specific replacement part.
How do I know if my Kohler flush valve needs replacement?
Common signs include a continuously running toilet, water slowly leaking into the bowl, a flapper that won’t seal, visible cracks or wear on the valve, or a leak near the tank-to-bowl connection. Sometimes a worn flapper alone is the cause, not the entire valve.
Can I replace only the flush valve seal?
Often, yes — if the valve body itself is undamaged and only the flapper or seal is worn. A full valve replacement is generally only necessary when the valve body is cracked or the mounting hardware is damaged.
Why is my Kohler toilet still running after replacing the flush valve?
This can happen if the new seal isn’t seated correctly, the wrong replacement part was used, the flush mechanism needs adjustment, debris is caught in the valve, or the actual issue is with the fill valve rather than the flush valve.
Why is my toilet leaking from the bottom of the tank after replacement?
This usually points to a damaged or misaligned gasket, improperly installed hardware, cracked porcelain, or a defective valve. Double-check the gasket placement and retaining hardware before assuming the valve itself is faulty.
What is the difference between a flush valve and a fill valve?
The flush valve releases water from the tank into the bowl during a flush. The fill valve refills the tank afterward. A running toilet could be either component — observing a flush cycle closely helps identify which one is actually failing.
How tight should the Kohler flush valve nut be?
Kohler doesn’t publish a specific torque value for homeowner use, and the exact spec depends on your replacement part. Tighten until the connection is snug and leak-free — avoid overtightening, since excess force can crack porcelain or distort the gasket.
Can I replace a Kohler K3489 flush valve myself?
Yes, in most cases, if you have basic plumbing skills, the correct replacement part, and are comfortable working with the tank. If you run into cracked porcelain, seized hardware, or uncertainty about the correct part, professional help is a reasonable next step.
Conclusion
Confirm your exact Kohler K-3489 model and verify the correct replacement flush valve before you start. Shut off the water, empty the tank, and remove the old component carefully. Clean and inspect the sealing surface, then install the new valve and gasket according to the manufacturer’s instructions — avoiding overtightening around the porcelain. Turn the water back on slowly, run several flush cycles, and check thoroughly for leaks. If you encounter cracked porcelain, seized hardware, or a persistent leak you can’t resolve, contact a plumber rather than forcing the repair further.